I had a big intro to this blog post written up, but decided I’ll just skip to the point: we found some after pics of the HHI house we remodeled! They’re the ones from the original listing and not the ones we took, so not only do they have the mls watermark on them, they aren’t from the same angles as our before shots. Honestly, they’re really crappy, especially considering that they’re screenshots and not originals, but I’m happy to have any photos at all. It’s just funny that the quality of the before pictures is a lot nicer than the after pictures. Kinda makes the “reveal” a bit of a womp womp. Of course waiting 4 years to share the reveal also dampens the effect, but whatever.
It was a fairly minor remodel, so I hope you’re not seriously underwhelmed (though if you had said minor to either of us while we were tiling bathrooms or backsplashes or pouring/polishing those concrete countertops, you probably would have been smacked upside your head.)
First things first. Before you scroll any further, you need to go check out the original home tour so you can see all of the before images. There’s a link at the end of that page to bring you back to here.
Here we go! Let’s start things off with the blurriest image of the bunch.
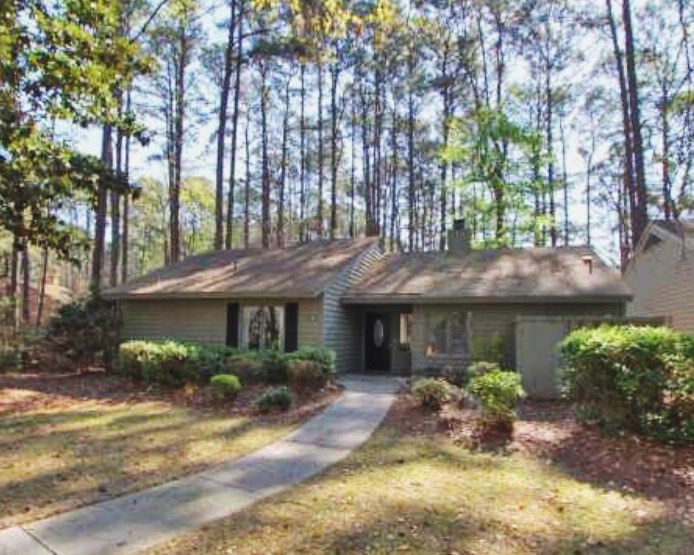
The front of the house was boring and honestly the after is too because we didn’t want to invest too much time or money. Had I cared to go the extra mile, I would have re-shingled the roof and painted the trim a contrasting color. And if I’d cared to go even further, I would have installed a bigger dining window and a window in our master bath. I also would have made the porch more interesting by installing double glass doors and added onto the roof to give it more dimension.
Instead, we painted the front door black and added black shutters. Nothing we could do about the landscaping. The neighborhood subdivision had its own HOA fee in addition to the plantation POA fee that covered landscaping and maintenance. The over hacked pruned bushes are what we got for our money.
Let’s move on to the interior.
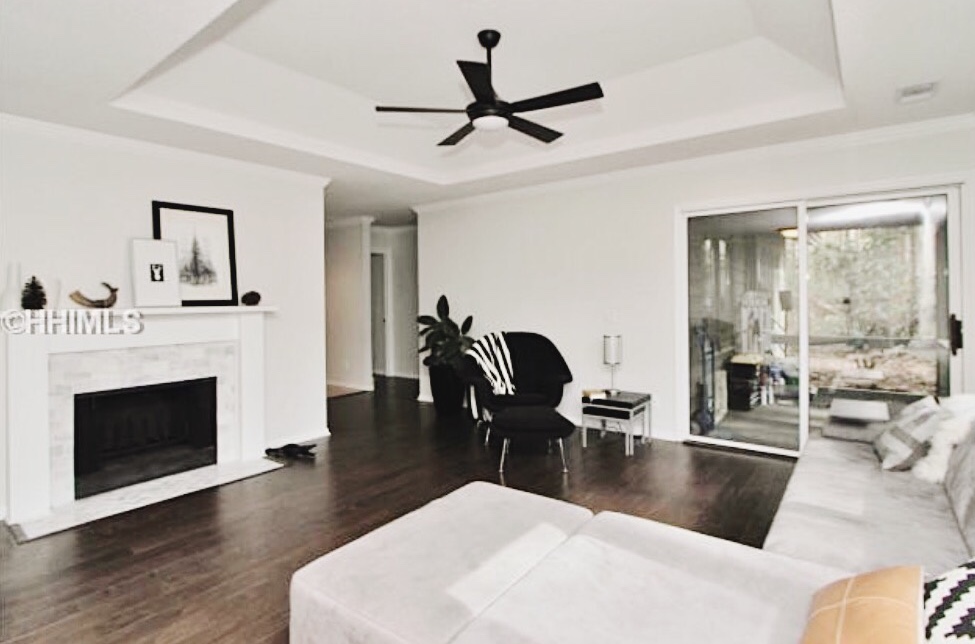
Oh my gosh. These images are so blurry, they’re down right embarrassing.
The house previously had a different color of paint in every room: very dark tan (pretty much brown) in the living / dining area, hall, spare room and boys’ room, yellow in the kitchen and dining, and a fairly dark blue in the master bedroom, office, and bath. Overall, the house felt like a cave. I normally love white and bright, but we opted to paint everything a very pale grey to keep it light, but still contrast the moulding and kitchen cabinets.
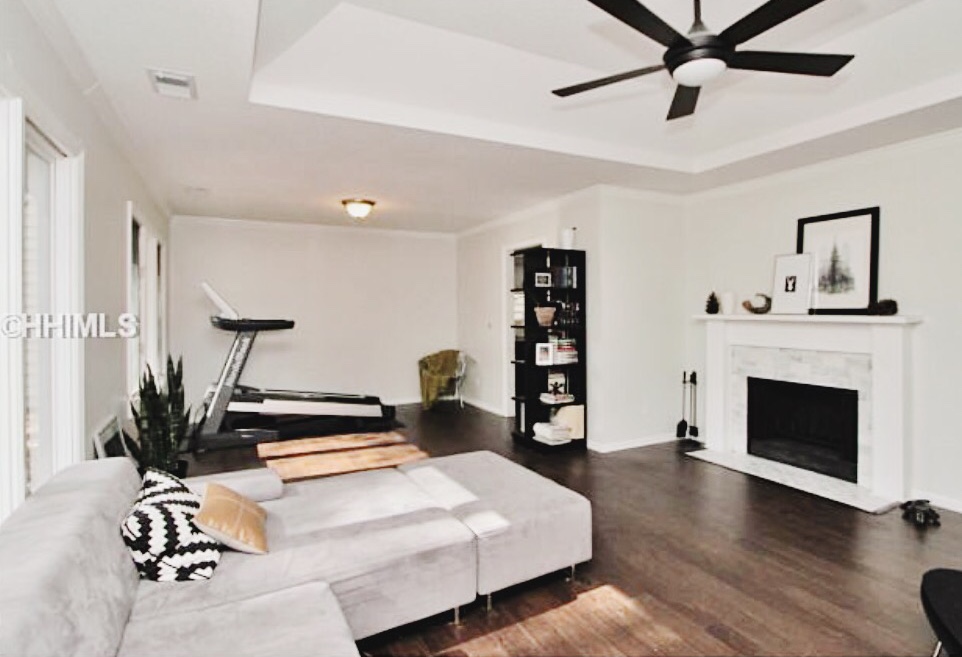
Doesn’t that fireplace look so much better? We ripped out all of the tile on the surround and the floor, painted the inside black, and re-tiled with a white carrara marble. We also replaced most of the lighting throughout the house (except for that booby light which I never got around to.)
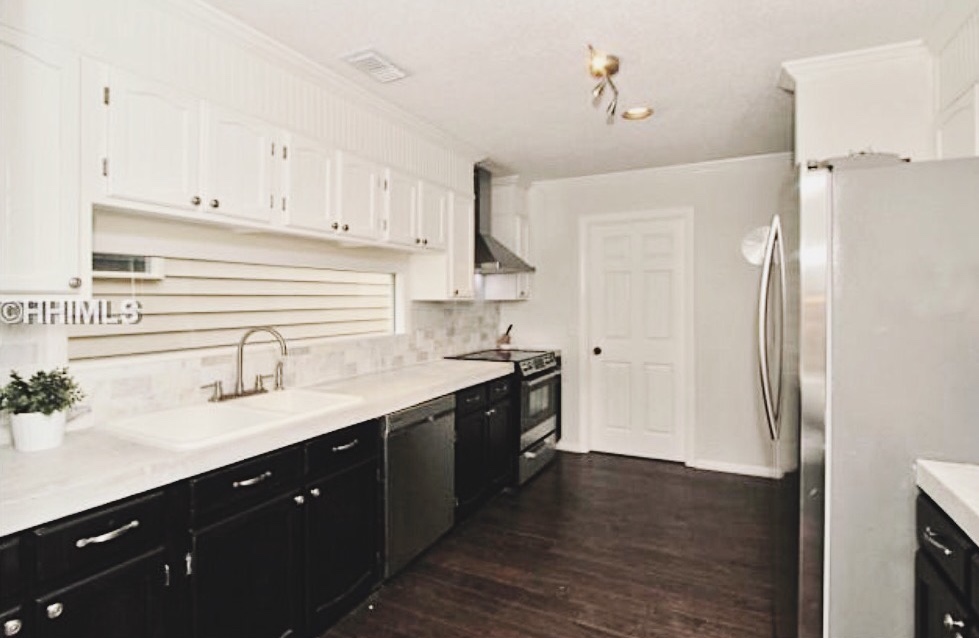
The kitchen cabinets were previously a cream color. I would have loved to replace all the cabinets. Even though they looked outdated, they were actually in pretty good shape, so we decided to keep them. We gave the uppers a fresh coat of white paint and painted the bottom black. It was between black and navy. That was a current trend at the time, but I think if I were to do it again, I would choose a different color on the bottom, perhaps a warm medium grey or even a fun green color like this or this.

We kept all of the original hardware. We also kept the sink, but replaced the faucet, and replaced the lights and appliances. My favorite part of the kitchen was the new stove and range hood. We installed carrara marble on the black splash and took it all the way up the the ceiling behind the hood. I love the look.
We were originally planning to raise the three cabinets above the window, replaced the doors with glass doors and install an open shelf in the newly created space below, but we backed out last minute after debating time, cost and effort plus what we would get back out of it. It would have looked so great though.
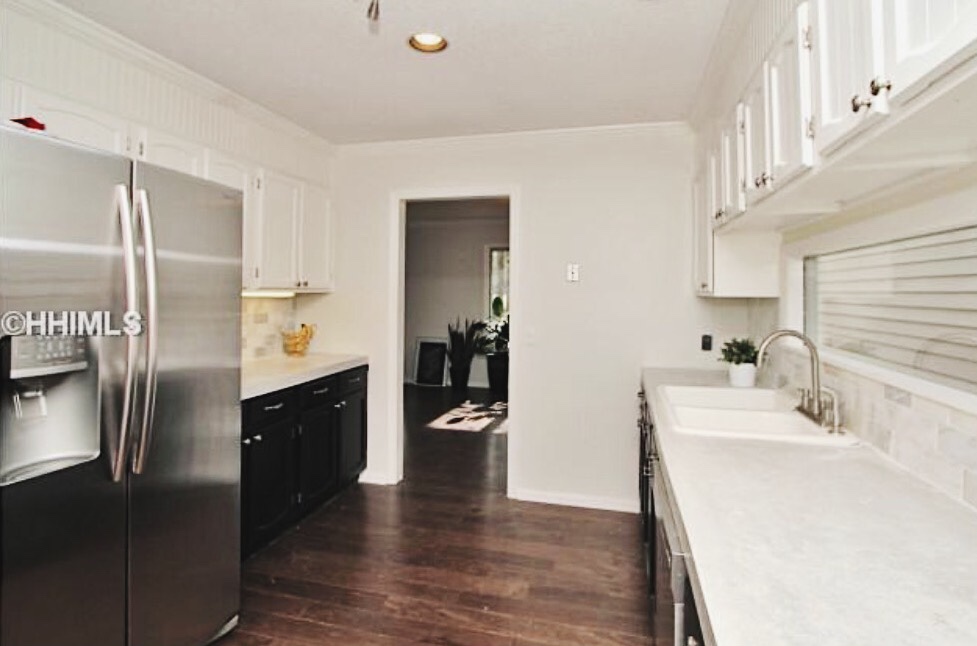
Check out these counters, y’all! Concrete!! SO MUCH WORK! And so much mess!! But man, was it worth it. They were awesome and I’d totally install concrete counters in a future house. Loved them.
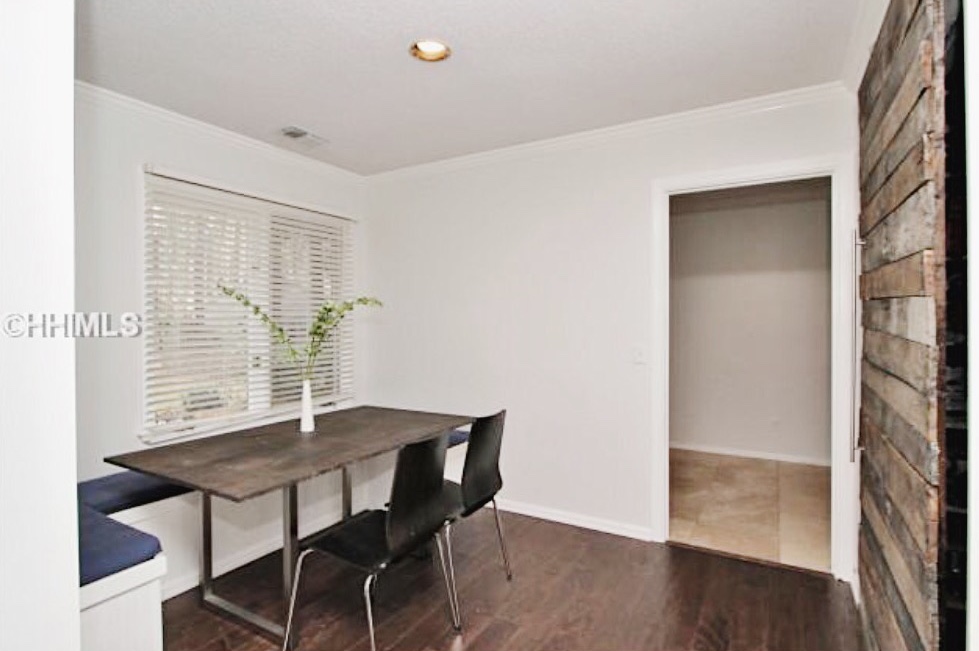
I never got around to redoing the upholstery in the nook. A heavyweight linen would have looked nice.
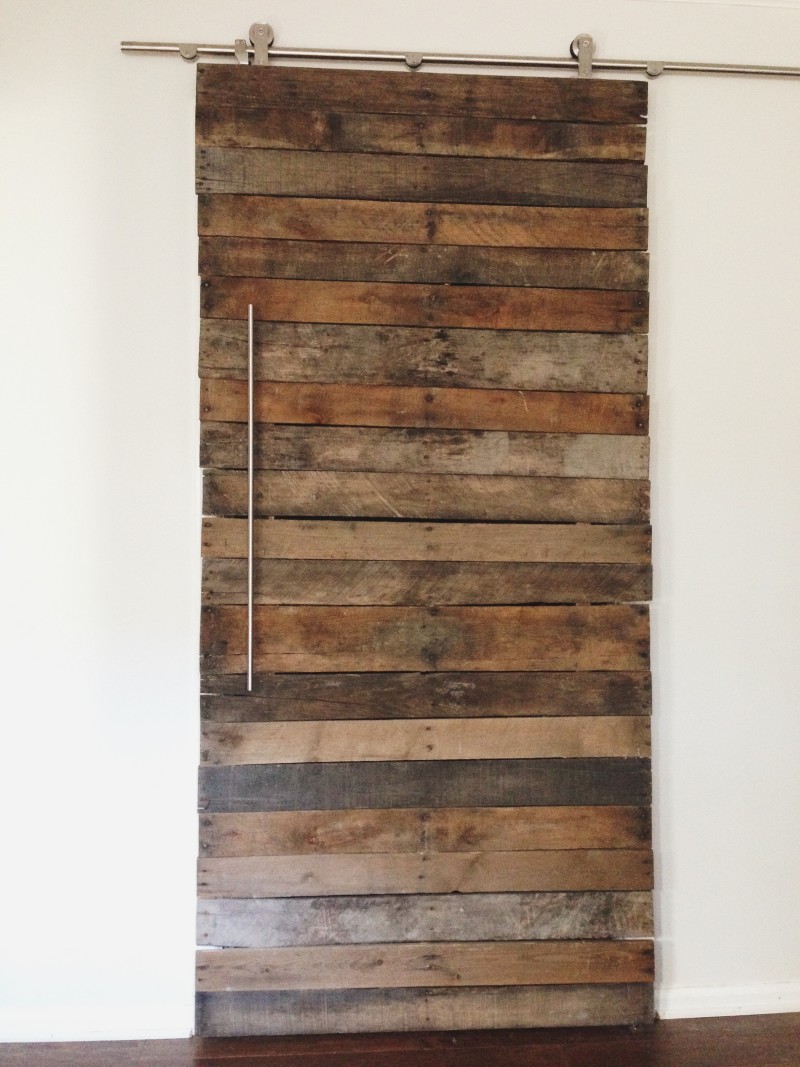
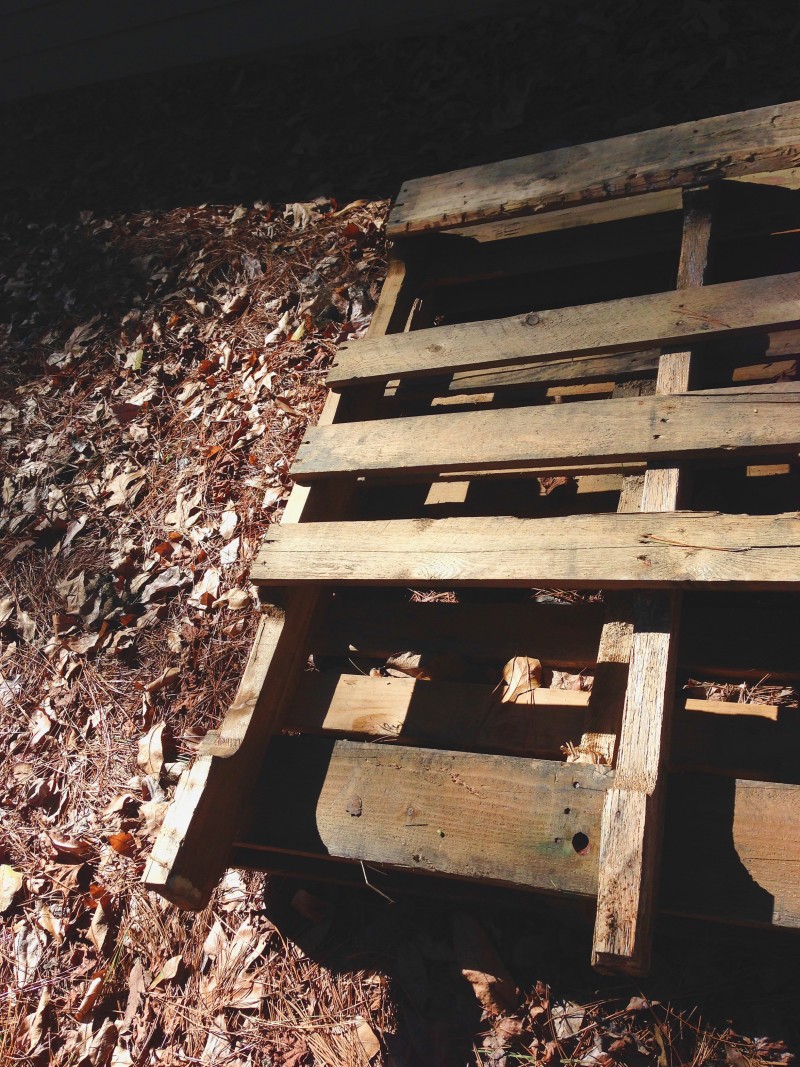
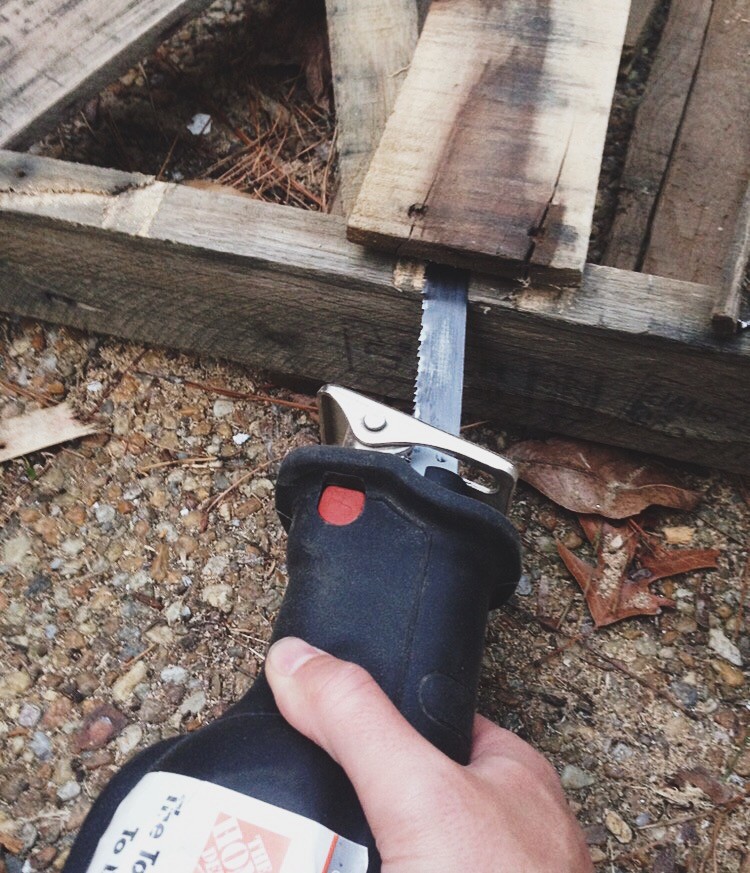
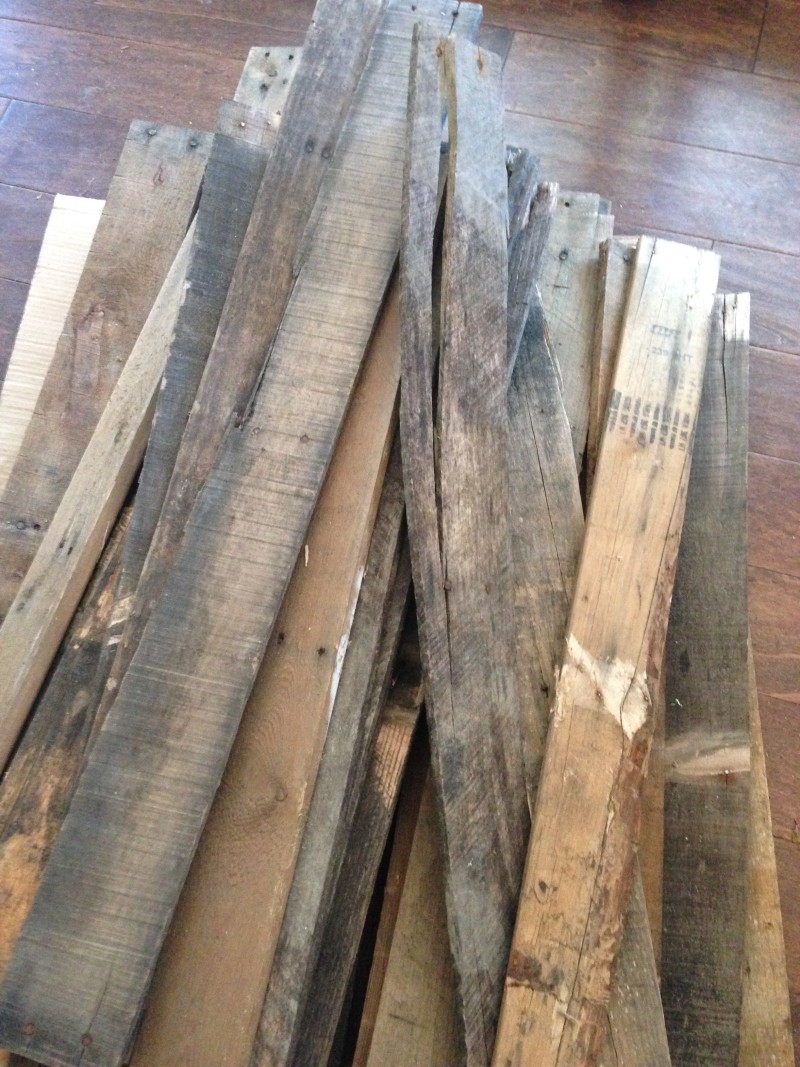
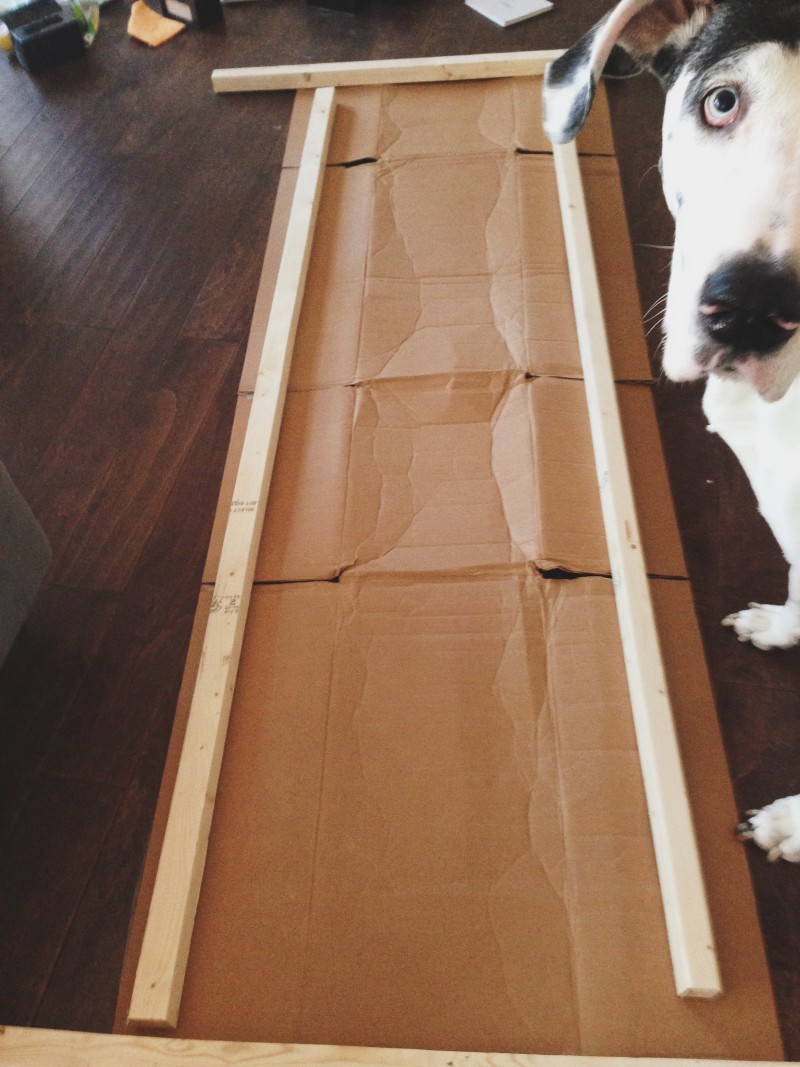
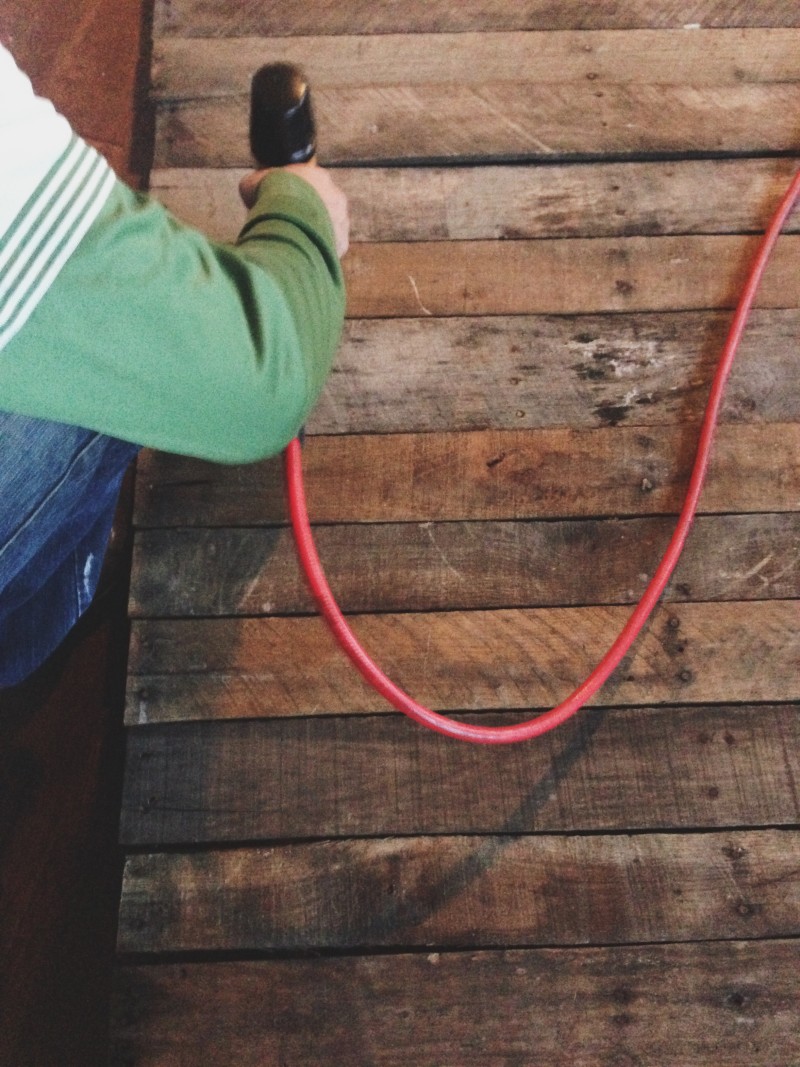
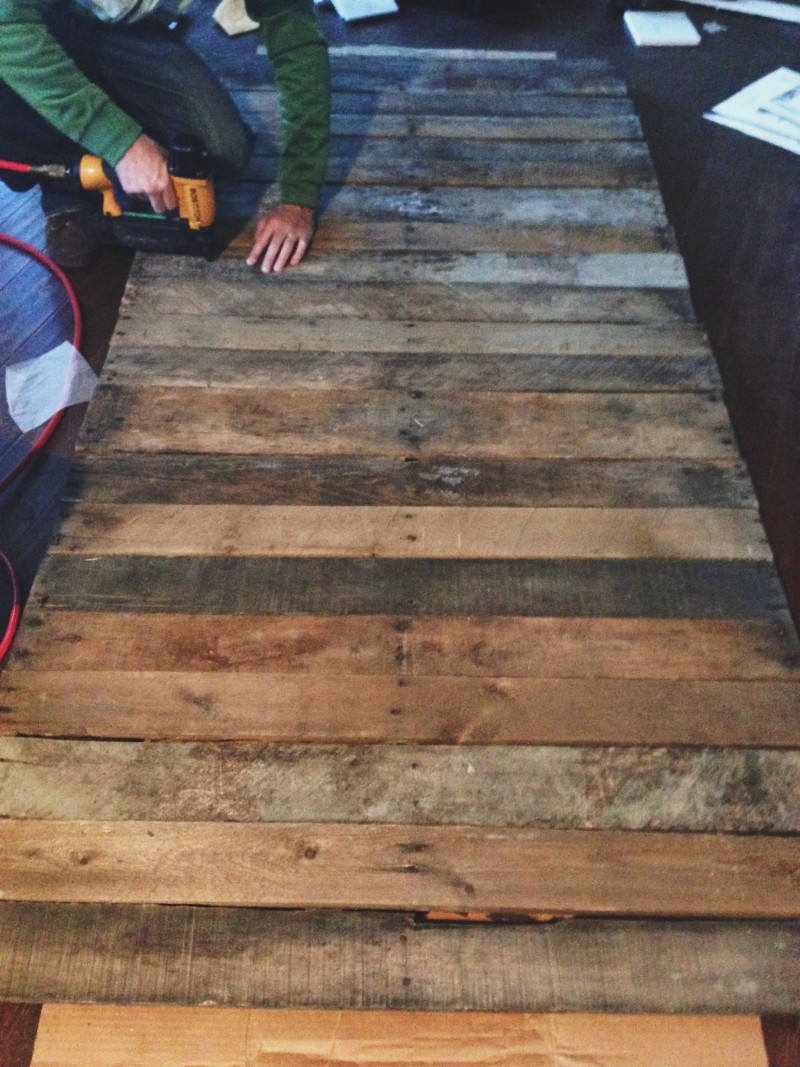
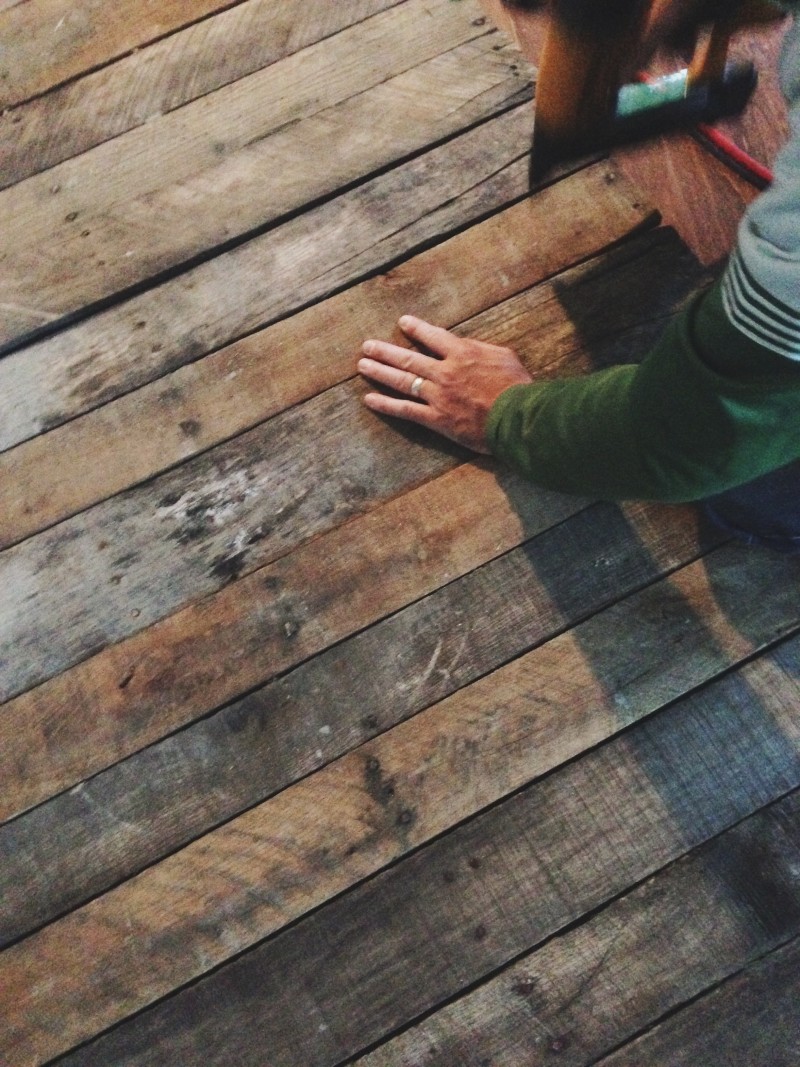
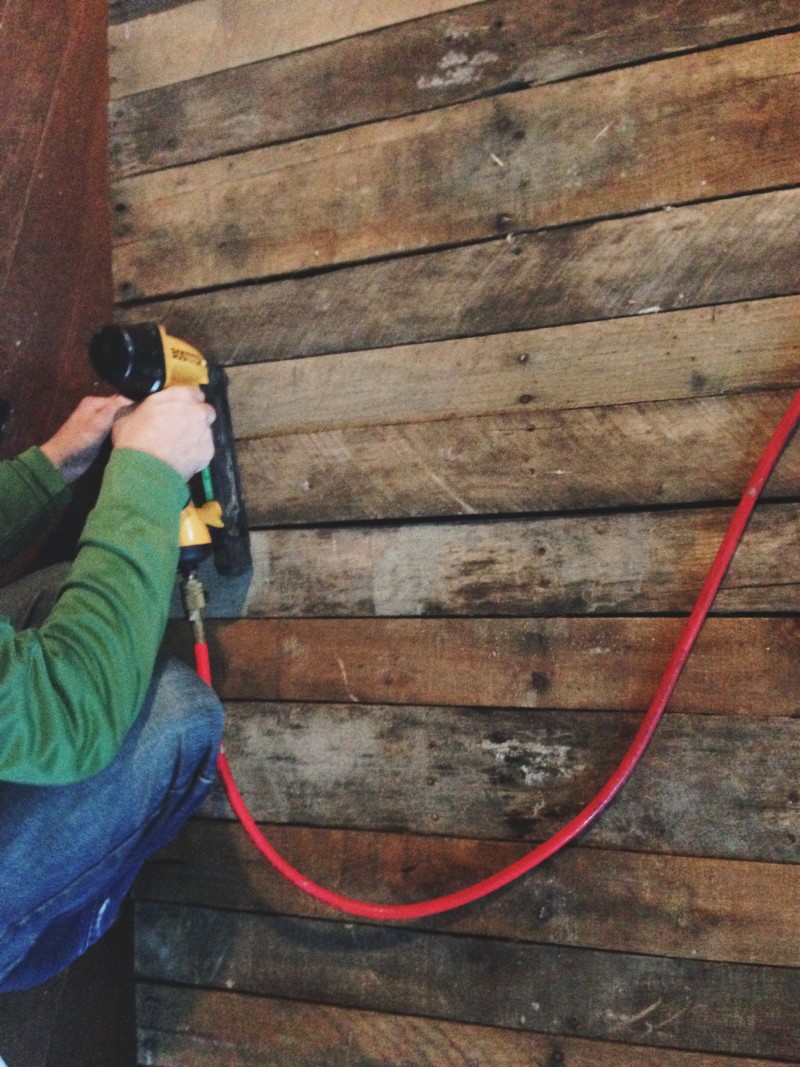
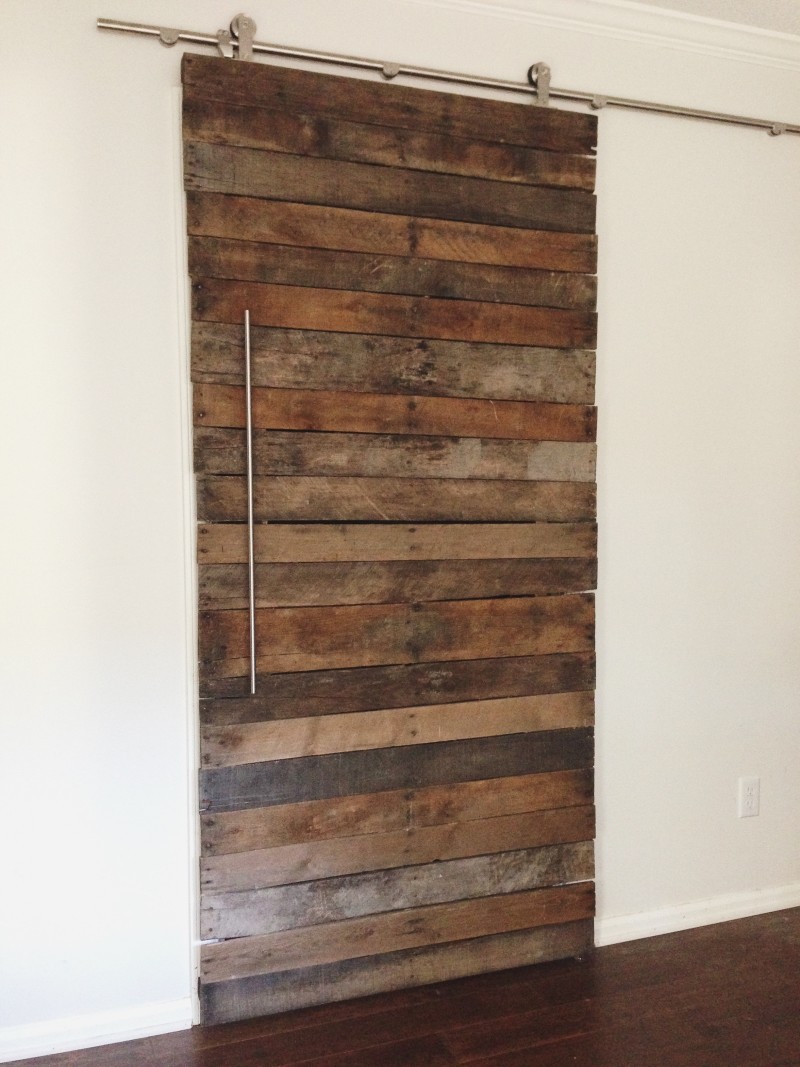
But forget about that, look at the pantry door!!! We made it out of pallet wood and installed it on a sleek and modern track. You can read more about it here.
Also sad I didn’t replace the tile in the entry, but that would have been so much work and we agreed that it wasn’t worth the effort.
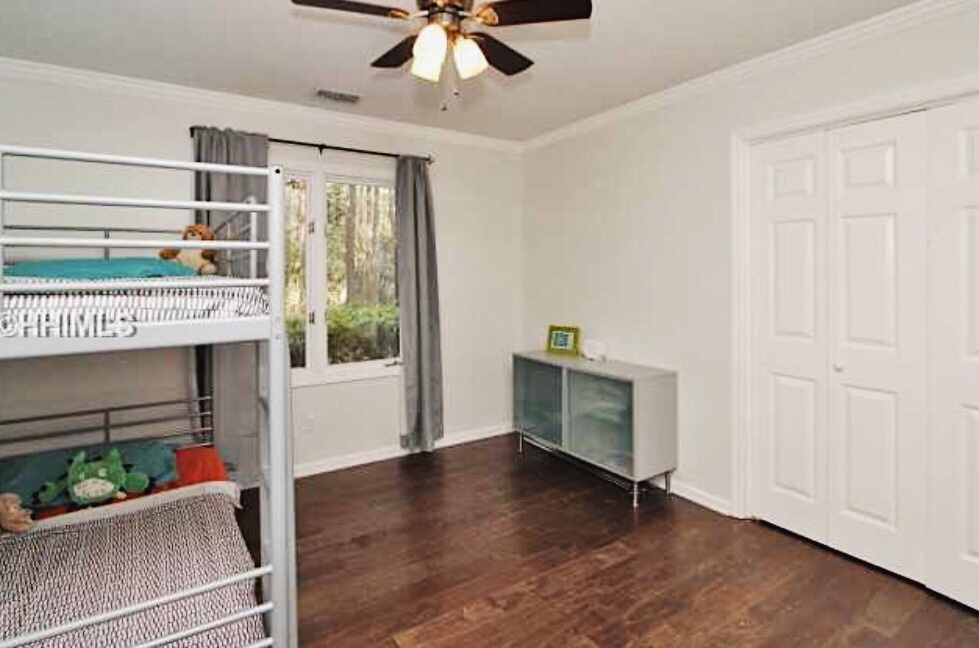
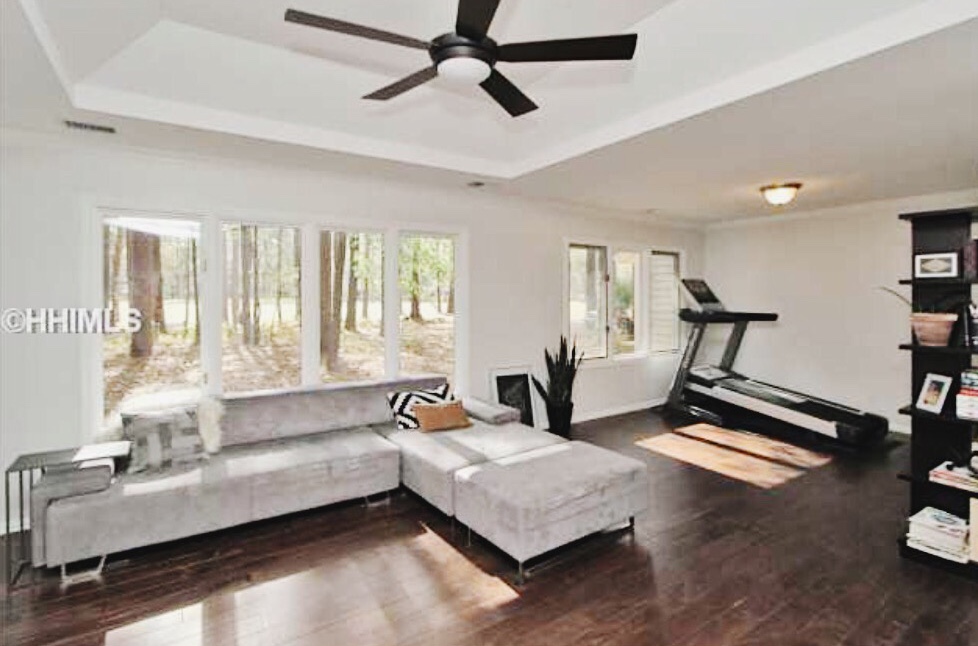
We ripped up the old, stinky carpet throughout the house and installed a hand-scraped engineered hardwood. It looked great in the house, but I hated it for a few reasons. First of all, I just hate dark wood. I prefer light and bright for everything, including flooring.
One weird thing that I didn’t realize would be an issue until it was: dark floors mess with your peripheral vision. Sounds dumb, but I couldn’t tell you how many times I stubbed my toes on things in the evenings when it started to get the least bit dark outside. We did a dark charcoal finish on the concrete floors in the basement of our current house and I do the same thing down there too. Brad does as well, but won’t admit it’s the dark floors that contribute to it.
The other super annoying thing about this flooring was how easily it scratched. You could look at it and it would scratch. Sneeze too hard and it would scratch. Run down the hall? Scratch, scratch, scratch. Basically if you’re an older, lightweight retired couple with no grandchildren or pets, that walks softly, always wears socks or slippers and never rearrange your furniture then this is the flooring for you.
Poor Kenzie would scratch the floor simply walking around. We tried all sorts of things and ended up using gel tips on nails which meant she could never go on walks with us after that. I felt so bad.

We don’t have good after shots of the bathrooms, but we installed white penny round tile in the boys’ bathroom and painted the cabinets the same black as the kitchen.
Overall, the remodel wasn’t exactly my style, but really neither was the house. It was still a fun project and I loved living there. So many happy memories were made in that house. We put the house on the market because we planned to sell both this house and the Beaufort house and use the money towards building a home on our lot. The plan was to move back into the Beaufort house which we had kept as a rental, remodel and list it. Then once it sold, move our stuff into storage and stay with my mom while construction on our beach house wrapped up. But shortly after we listed this house we found out we were expecting another baby and decided to stay put for a while. We told our agent we wanted to pull the house off the market, but as it turned out, the people who saw the house the day we found out we were pregnant put in an offer and even though we hadn’t accepted anything yet, our agent told us it was illegal to back out. It wasn’t. He was full of crap and a terrible realtor.
Anyway, we were forced into moving and proceeded with our plan to move into the Beaufort house. Since it had been a rental, it was rather beat up, so we remodeled it again – installing the same hand-scraped flooring and painting the walls the same light grey as the HHI house. Meanwhile, after much prayer and dozens of pro/con lists, we ended up making the tough decision to move out west. We felt it would be best for my businesses for a variety of reasons and it has been. We sold our lot, the Beaufort house and the HHI house and moved to Utah. We miss the island terribly and can’t wait to move back, but we know we’re in the right place for now.
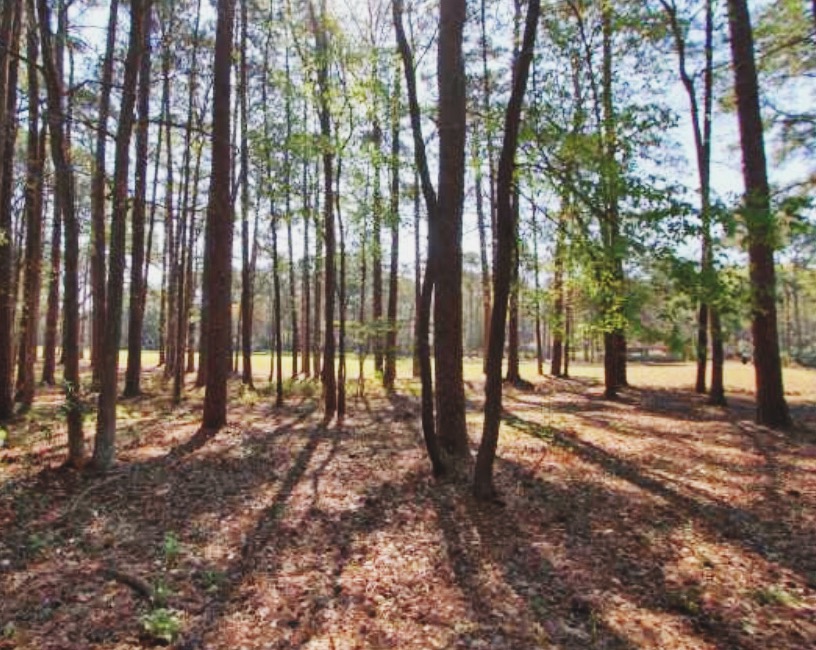
Let’s leave off with our golf course view. I think this might be what Brad misses the most. 🙂